Create an automation with Webpush
Set up your web push flow by clicking Automations — Create new automation — Create automation (Single automation).
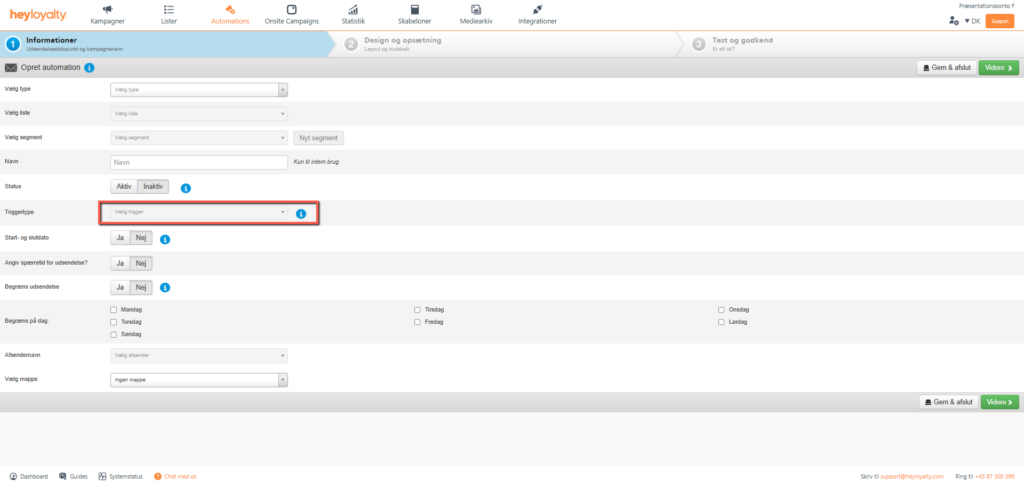
Name your automation and select a list that has web push set up.
Under trigger type, you select Tracking. Then you get a lot of extra options to choose an action. For example, choose the Abandoned cart. Fill in the rest of the information. Click Continue.
Design your automation
Design your automation as you know it from campaigns.
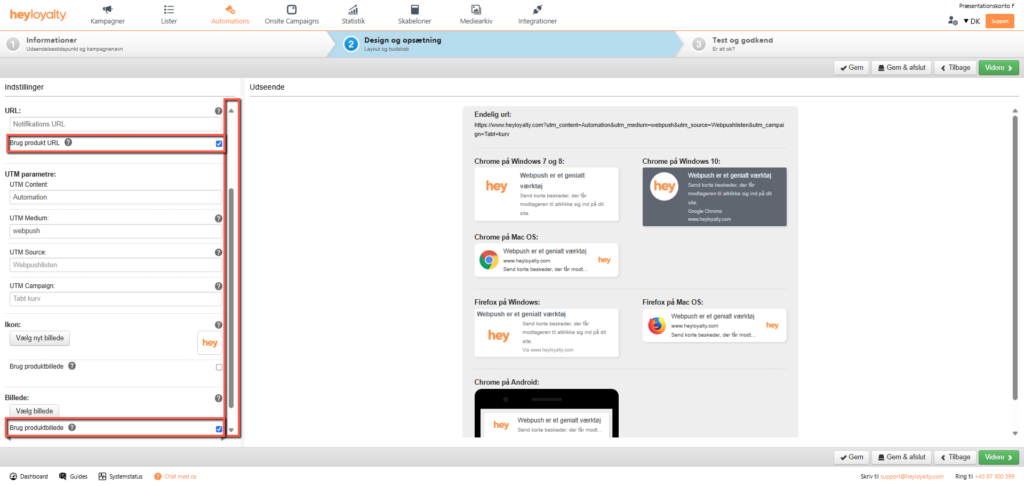
Be aware that your webpush notification will look slightly different depending on which browser the message is displayed in. When you are satisfied with the design, click Continue, where you can see an overview of your automation and test the url.
Unlike a web push campaign, an automation allows you to automatically retrieve an image and a link from your product feed. For example, you can set up an abandoned cart with webpush in the same way as you know it from emails, where this web push automation automatically fetches an image and a link from your product feed and inserts it, so that this automation links to the exact product that the guest left in the basket. To use this feature, scroll down and tick the Use product URL under URL, and the Use product image under Image.
If everything is as it should be, you can just click on Next. Finish by clicking Exit.
You can activate your webpush automation campaign by tapping Inactive in the Status column of your Automation overview. Type Activate in the box and click Activate
Hvis du mangler information eller hjælp, som du ikke finder her på guide sitet, er du altid velkommen til at kontakte vores support!
support@heyloyalty.com / tlf. 87 300 399
Leave a Reply