Merge fields in an email campaign
Click Campaigns –> Create new campaign
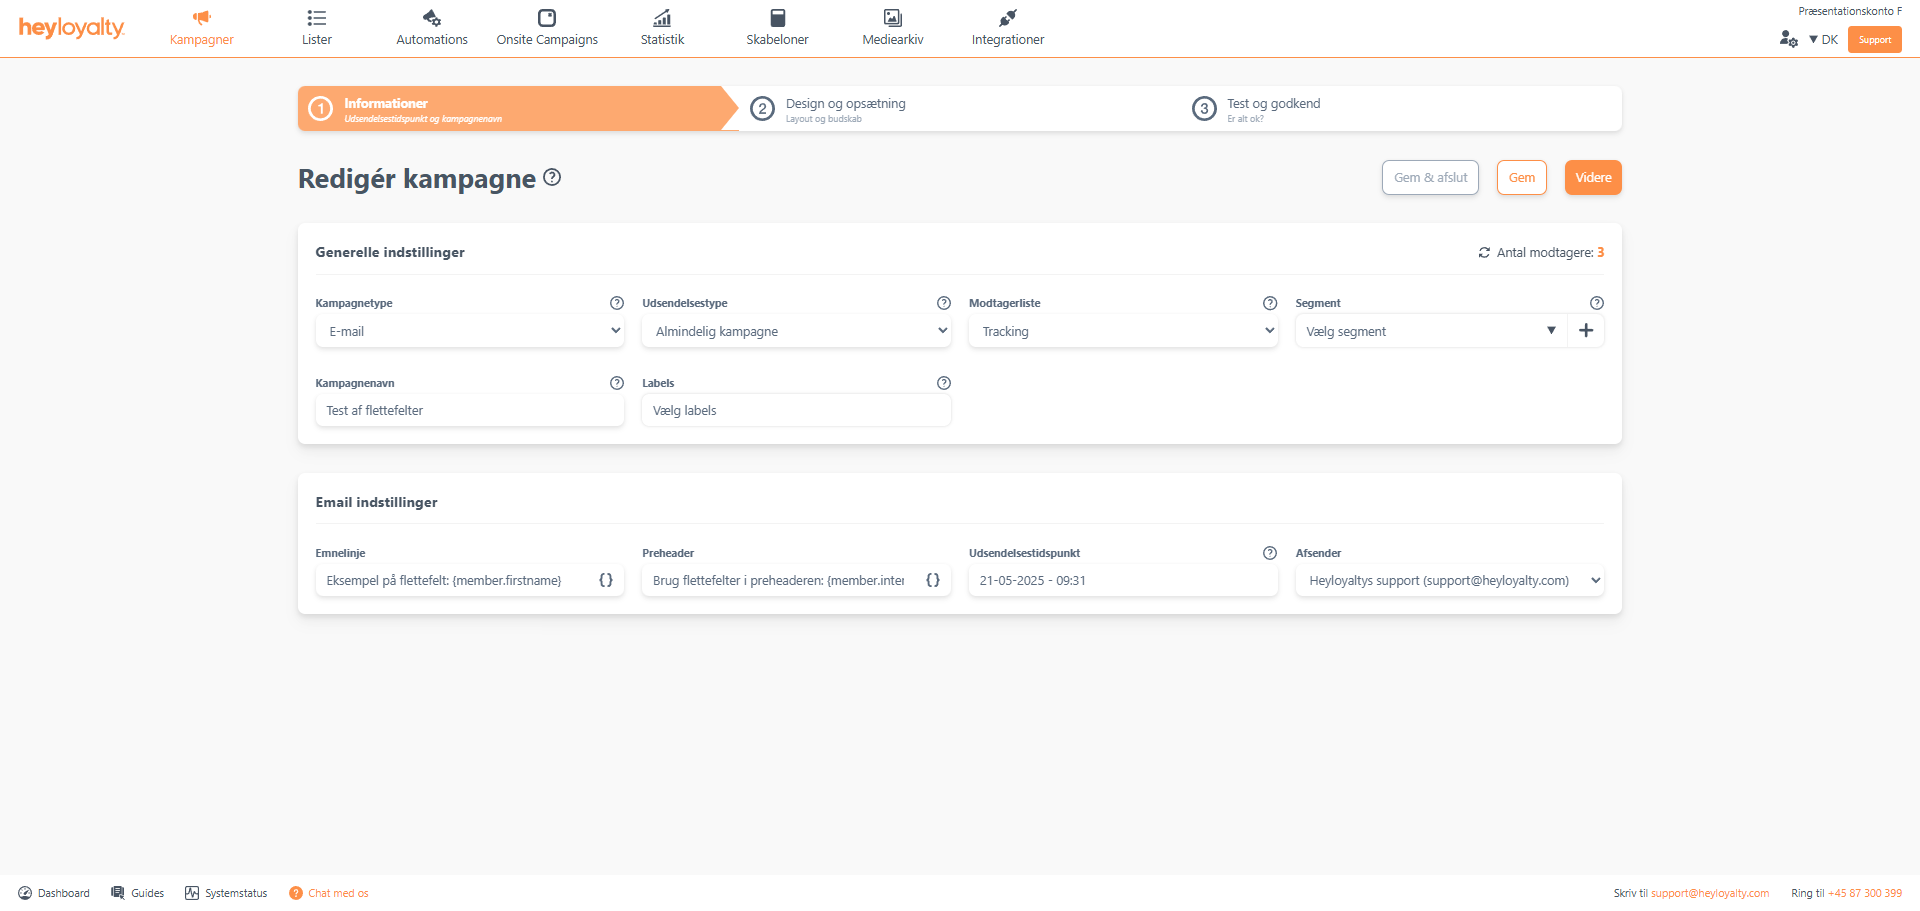
Fill in the information.
You can use merge fields in both the subject line and preheader by clicking { } and selecting the merge field you want to insert. Click Next.
Design your email.
To insert a merge field, paste it into a block of text. Click { } à Member à select the respective merge field you want to insert.
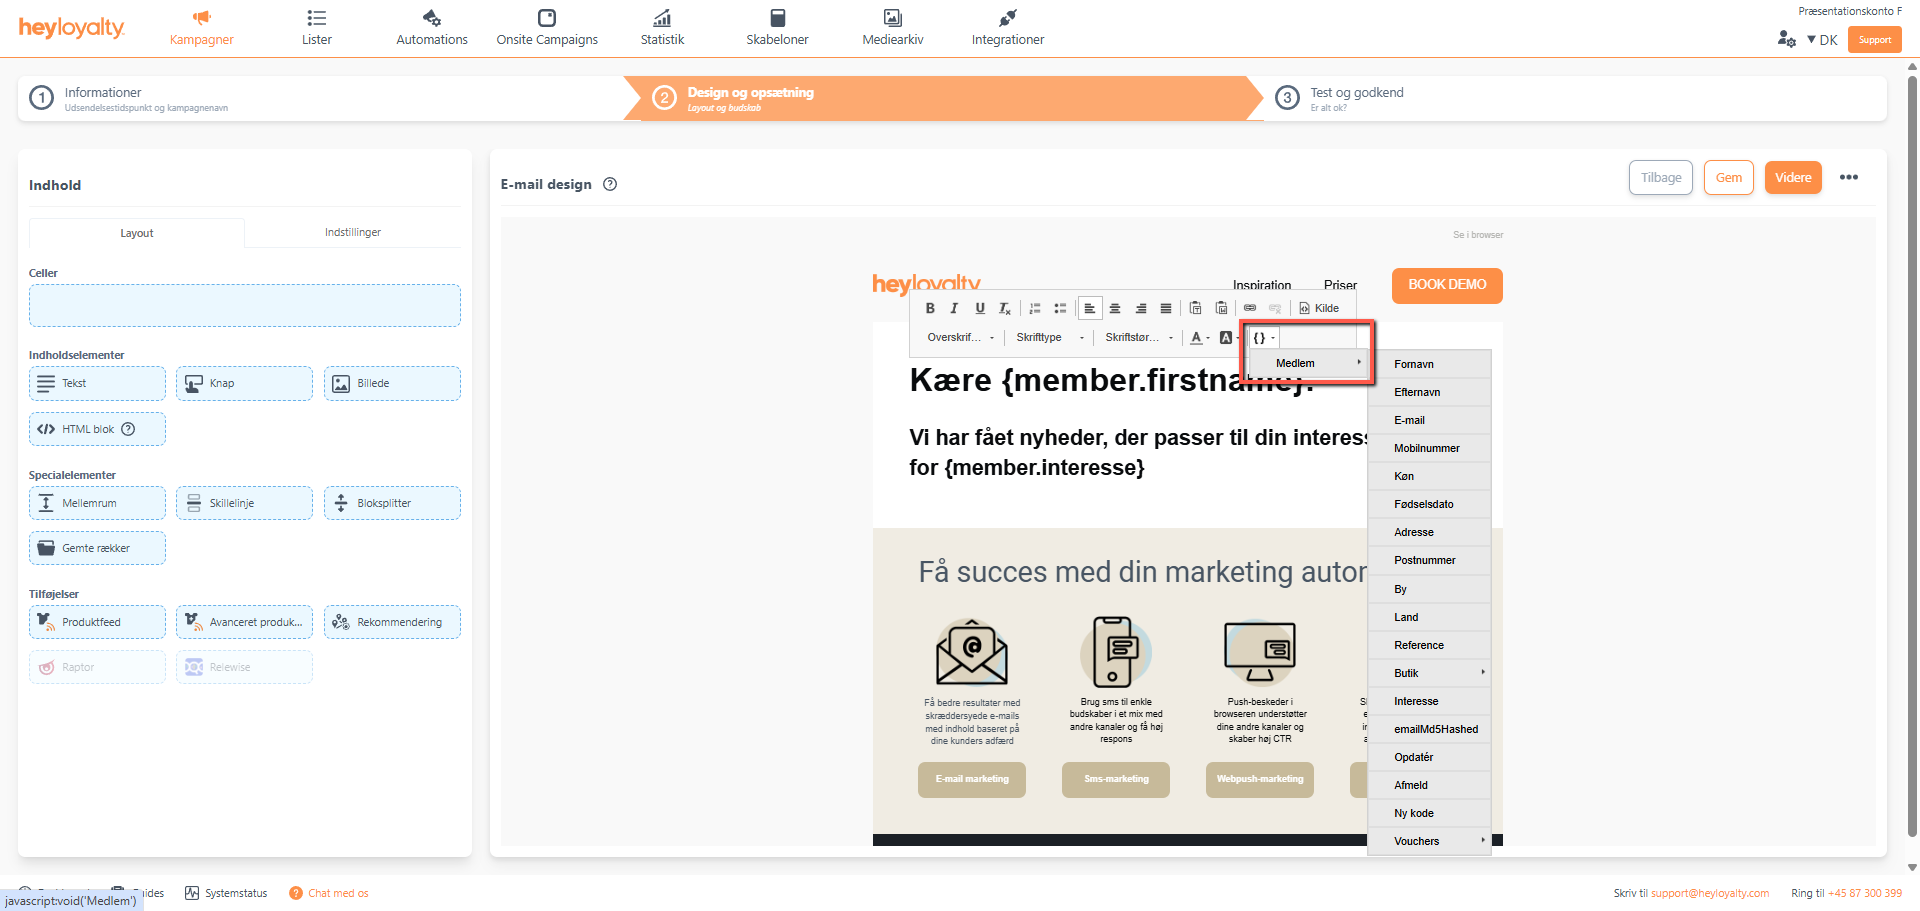
In the picture above Member –> First Name has been used as a merge field in addition to Member –> Interesse inserting the members interests. Once you’ve inserted a merge field, you’ll be able to see the merge field in the email, but not the specific data from a specific member. However, you will be able to see this on Step 3 – Test and approve.
Once your campaign is designed, click Continue.
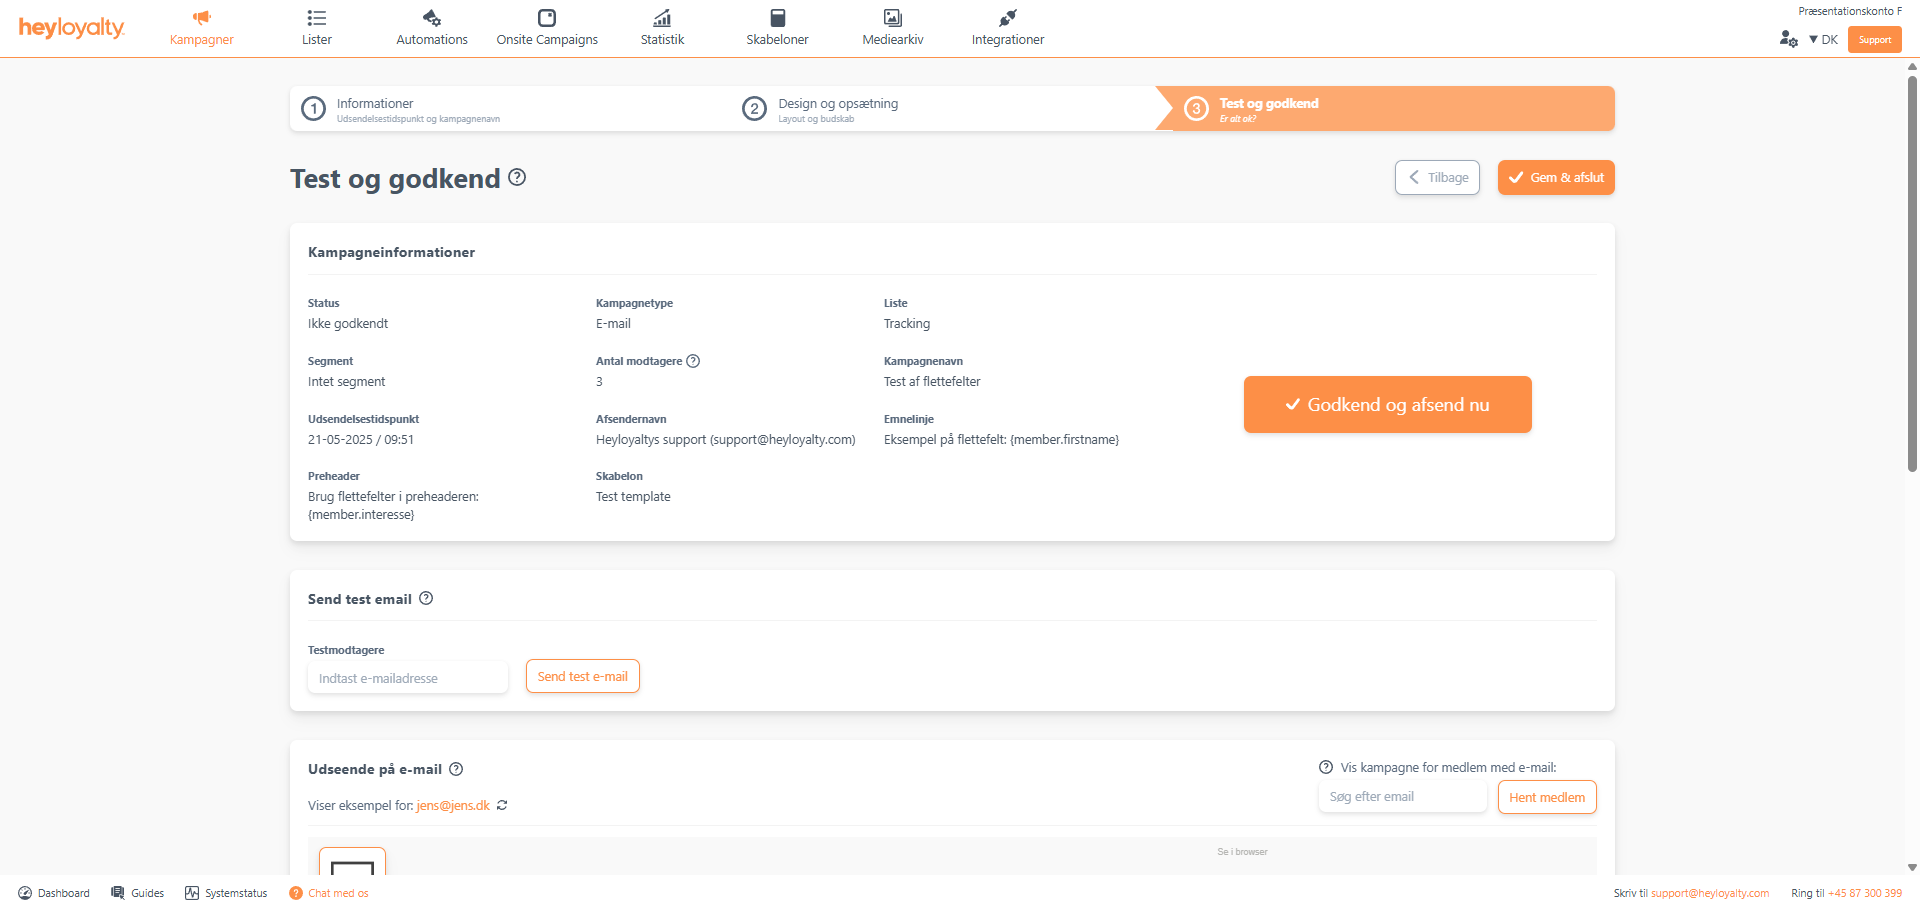
Double-check that everything is as it should be in the Campaign information.
Scroll down and see the preview of your email, where you can check your merge fields.

You can now see how {member.firstname} has changed to Jane and {member.Interesse} has changed to Weekend stay.
Above the email preview, you can change which member the campaign previews. Shows example for: jane@jane.dk shows in the top left corner where it can also be changed. Click 🗘 to have Heyloyalty select a new random member from the list. Alternatively, you can type a specific email from a specific member in the Show campaign for subscriber with email: field. Here you can test the email preview with a specific member. Use this if you know a certain member should have specific information in a given merge field – it could be one of your own test members on the list, that you use to double-check data in the merge fields.
Confirm and send now, Approve Campaign, or Save and exit to send, approve, or save the campaign.
Hvis du mangler information eller hjælp, som du ikke finder her på guide sitet, er du altid velkommen til at kontakte vores support!
support@heyloyalty.com / tlf. 87 300 399
Leave a Reply