Opsætning af Webpush-integrationen
Setup Webpush by clicking on Integrations –> List Integrations –> Webpush –> Setup Integration –> Create new Webpush
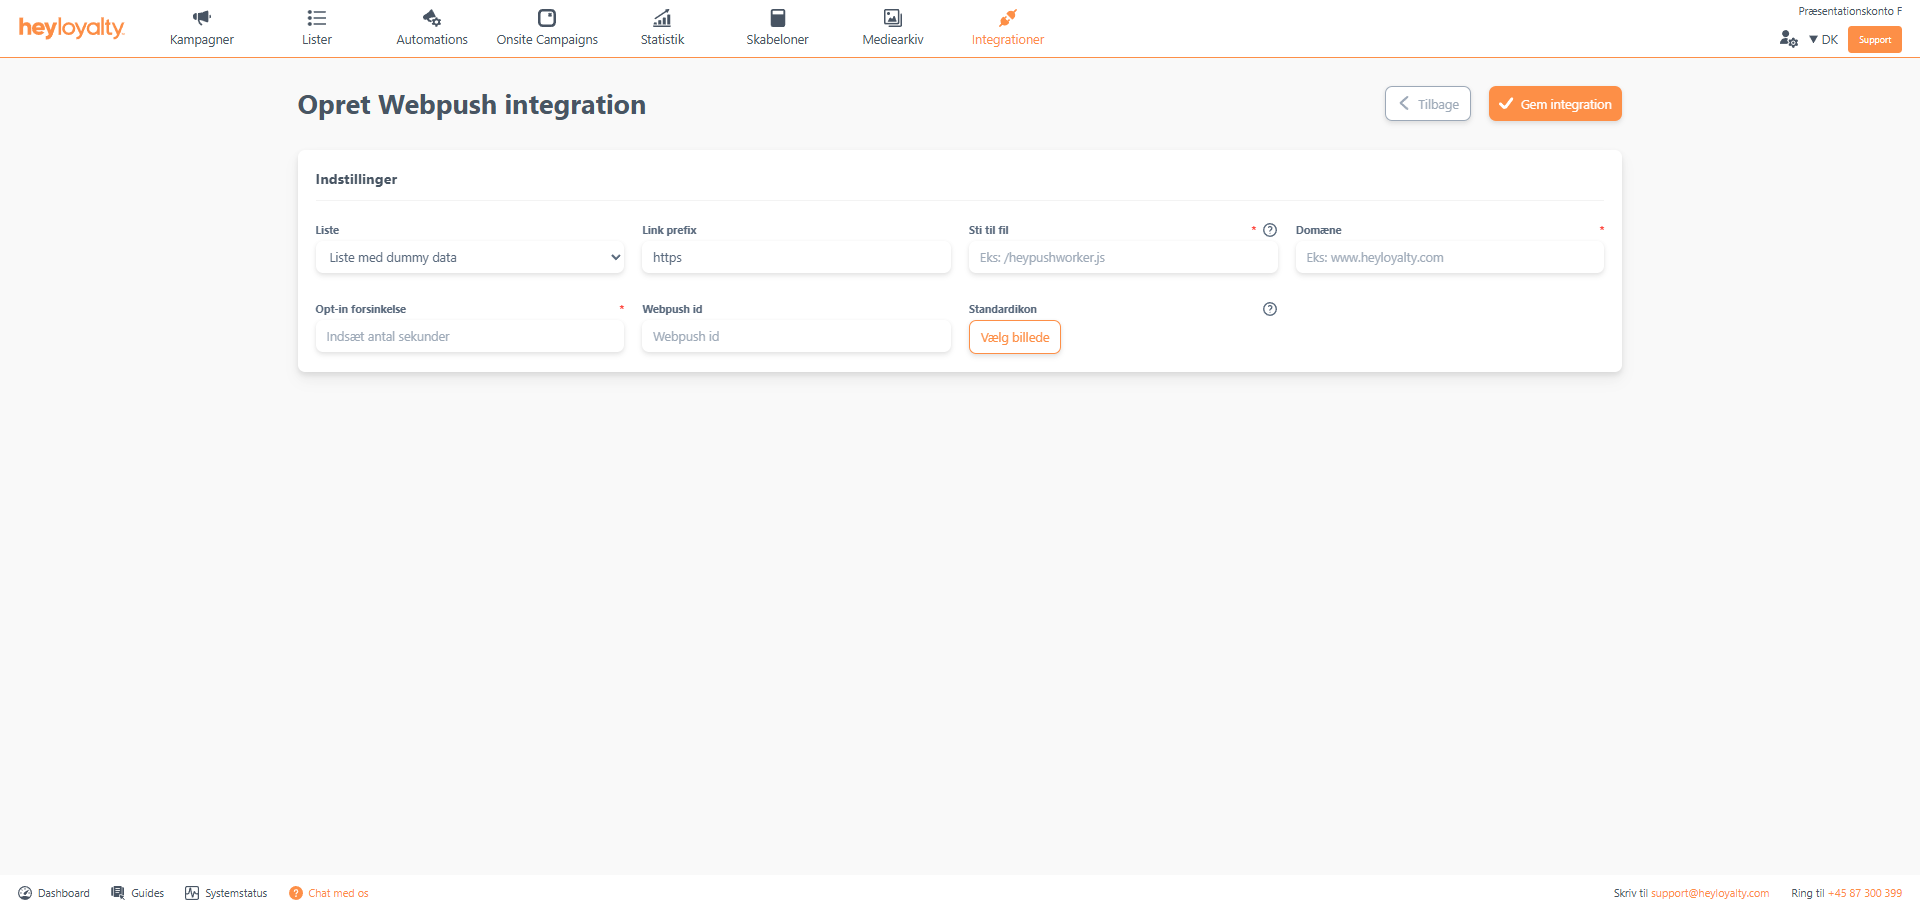
Fill in the fields. Make sure to fill in File path with an exact name. Heyloyalty strongly recommends that you enter /webpushworker.js here. Opt-in delay is typically 5 seconds. It defines how many seconds a user must be on your website before the option to sign up for web push notifications on your website appears.
Under Default icon many choose to add their company logo. This way, your logo will be included by default in the webpush messages you send. Du kan dog til enhver tid ændre dette ikon ifm. opsætningen af webpush-kampagnen.
Finish with Save integration.
Implementation of Webpush (workerfile and script)
Integrations –> List Integrations —> Webpush –> Edit Integration–> ⁝ –> Installation wizard –> Open worker file. When you click open worker file a new window opens. I dette vindue højreklikker du og vælger Gem som.
Save the file to your desktop and name the file precisely: webpushworker. Before you click Save, make sure that the File Type is set to JavaScript File.
This file should now be placed in the root of your website. For this, you can use a program like Filezilla.
Go back to the window with the installation guide. If you clicked away from there, find it here: Integrations –> List integrations –> Web push –> Edit integration –>⁝ –> Installation guide.
Select and copy the script in the light grey box and paste it on your website on all the pages from which a visitor should have the opportunity to sign up for webpush notifications from your site.
Hvis du mangler information eller hjælp, som du ikke finder her på guide sitet, er du altid velkommen til at kontakte vores support!
support@heyloyalty.com / tlf. 87 300 399
Leave a Reply